How Do I Connect a PoE Injector to My Network: A Step-by-Step Field Guide
⚡ Quick Summary & Network Topology
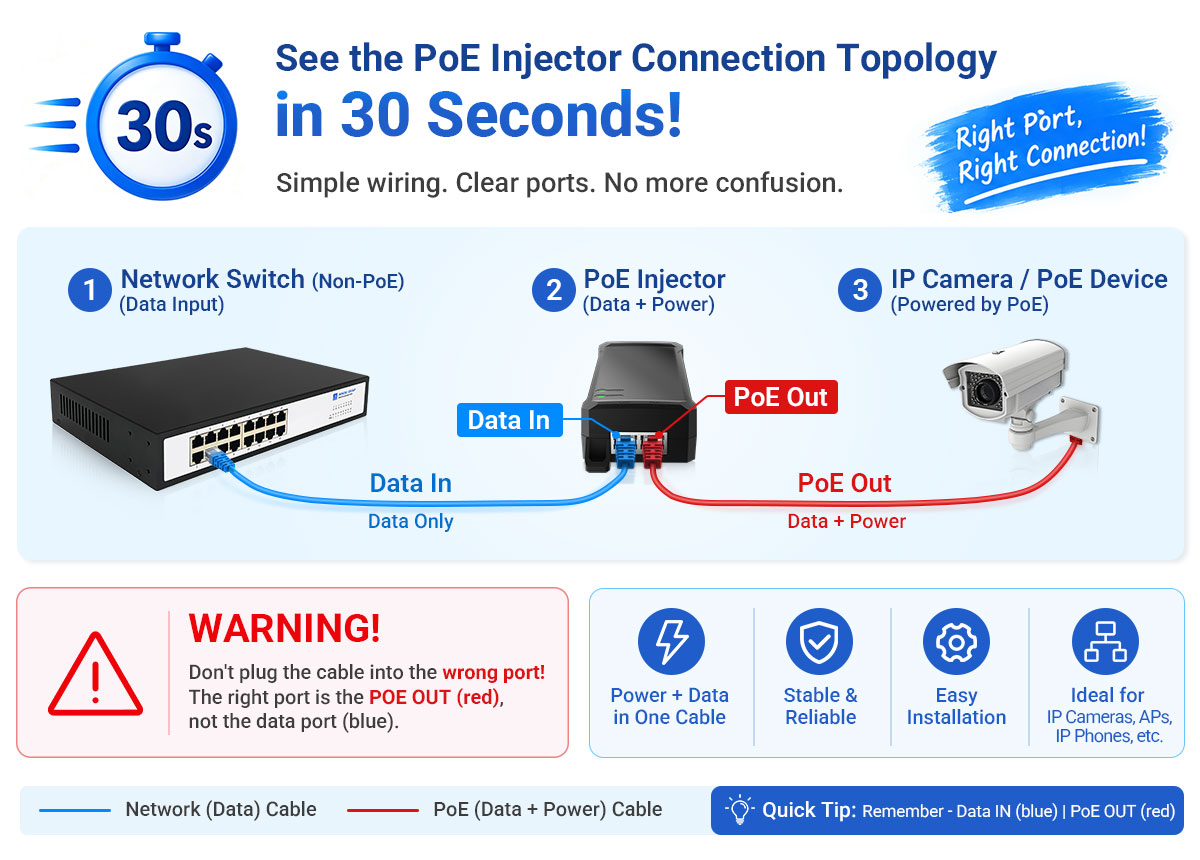
A Power over Ethernet (PoE) injector merges unpowered Ethernet data traffic and DC electric power into a single cable to power PoE cameras, access points, and VoIP phones. Never connect the powered PoE Out port to a non-PoE switch! Refer to the field topology below for instant wiring setup.
Figure 1: Standard Connection Flow — Router/Switch → (Data In) PoE Injector (PoE Out) → Terminal PoE Device
1. Gather the Necessary Equipment
Ensure you have certified hardware before starting installation to avoid signal loss or power degradation over distance:
- PoE Injector: Choose a model matching your terminal wattage requirements (IEEE 802.3af 15.4W, 802.3at 30W, or 802.3bt 60W/90W).
- Pure Copper Ethernet Cables: Use Cat5e/Cat6 pure oxygen-free copper patch cables for stable power delivery up to 100m (328ft).
- Power Cable/Adapter: Dedicated AC power cord or DC terminal block input provided with your unit.
- PoE Terminal Device: IP surveillance cameras, wireless APs, access control, or VoIP phones.
- Upstream Switch/Router: Non-PoE network port delivering pure data traffic.
2. Identify Ports to Avoid Burnout
Misconnecting ports is the #1 cause of hardware failure. Review the functional distinction of each port on a standard injector:
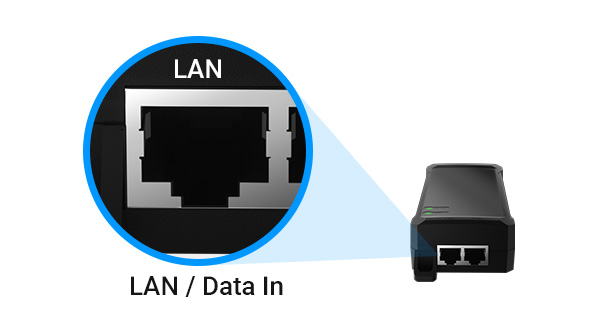
📥 LAN / Data In Port
Pure Data Input: Connects directly to non-PoE network switches or routers. Accepts Ethernet data signals only with zero power voltage.
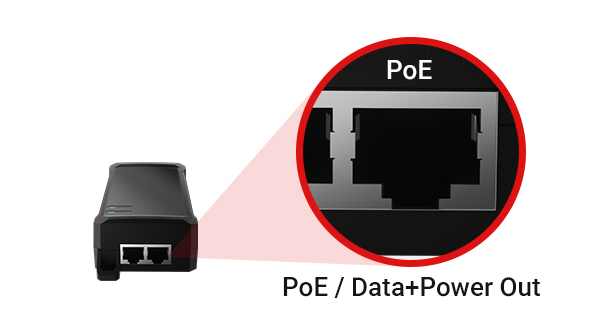
⚡ PoE Out / Data+Power
Data + DC Power Output: Delivers combined operating voltage (48V-56V) and network data straight to your terminal PoE device.
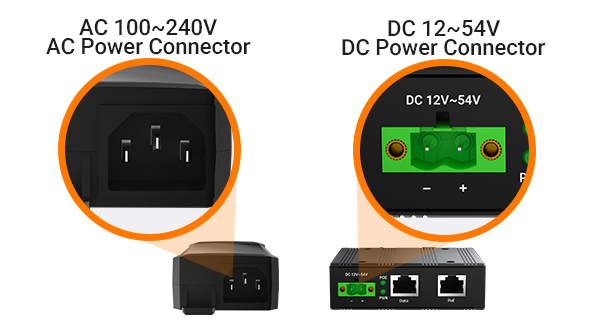
🔌 Power Supply Port
AC/DC Power Connector: Plugs into AC 100-240V wall outlets or industrial DC terminal blocks to energize the internal circuit.
3. Connect the PoE Injector (3-Step Process)
Step A: Link Injector to Upstream Switch or Router
- Plug one end of a standard Ethernet cable into an available LAN port on your non-PoE switch or router.
- Plug the other end directly into the Data In / LAN Port of the PoE injector.
Step B: Connect Injector to Terminal PoE Device
- Plug a second certified Ethernet cable into the PoE Out Port of the injector.
- Run this cable directly to the RJ45 port of your terminal device (e.g., IP Camera, Wireless Access Point).
Step C: Connect Power & Energize System
- Connect the provided AC power cord/adapter to the power input socket of the injector and plug it into an electrical outlet.
- Confirm that the Power LED turns solid green, indicating power is active.
⚠️ CRITICAL SAFETY RULE: DO NOT SWAP PORTS
Never plug the PoE Out Port into a non-PoE network switch or laptop network port. Sending 48V-56V DC voltage into uninsulated network interface cards (NICs) can instantly burn out motherboard hardware.
4. Verify Status LEDs & Test Network Connectivity
Observe system status LEDs before closing equipment panels:
Chassis LED Indicators Checklist:
- Power LED (PWR): Solid light indicates external AC/DC input power is normal.
- Data / Link LED: Blinking or solid light confirms successful data handshake with upstream switch.
- PoE Active LED: Confirms active power negotiation and power delivery to terminal equipment.
Terminal Device Check:
Verify that the IP camera or wireless AP powers on, completes system initialization, and displays link activity on its Ethernet port.
🔍 Rapid Connectivity Test:
- Ping the terminal device’s assigned static IP or DHCP address from your command prompt (e.g.,
ping 192.168.1.100).
- Open the Web GUI management interface of your IP camera or AP to check real-time streaming data.
Popular Benchu Industrial & Commercial PoE Injectors
High-Reliability Gigabit & Ultra 90W PoE / PoE+ / PoE++ Injectors for Industrial Deployments
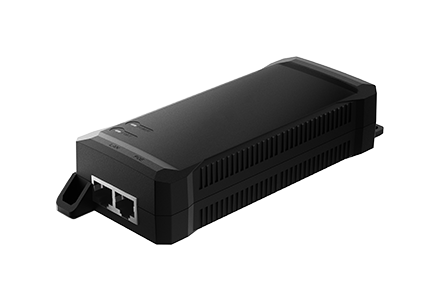 30W Gigabit PoE+
PSE102-GE-30W
30W Gigabit PoE Injector
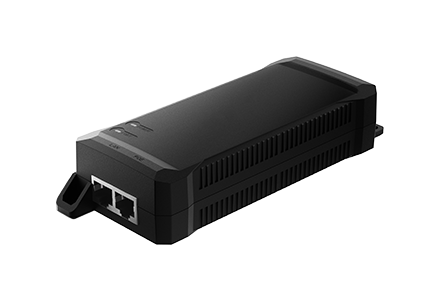 60W High Power
PSE102-GE-60W
60W PoE++ Injector
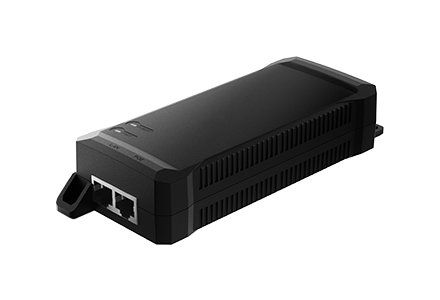 90W Ultra PoE++
PSE102-GE-90W
90W BT PoE++ Injector
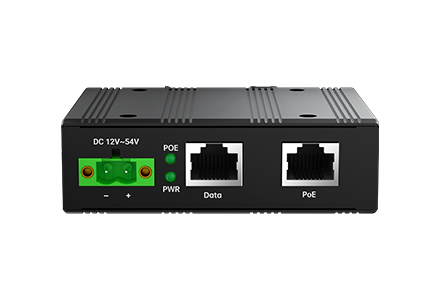 Industrial DIN-Rail
IES7211-102G-BT90-IPS
Industrial PoE++ Injector
5. Optional: Industrial & Wall Mounting Options
For permanent commercial installations, secure hardware housing to extend service lifecycle:
- DIN-Rail & Wall Mounting: Utilize built-in wall keyholes or DIN-rail brackets to secure hardware inside outdoor control boxes or equipment racks.
- Thermal Ventilation: Ensure at least 2 inches of thermal clearance around metal heat dissipation fins to prevent overheating under continuous high wattage load.
6. Field Troubleshooting Diagnostics Guide
If your PoE terminal device fails to boot or experiences packet loss, check the following engineering causes:
- Re-check Cable Connections: Confirm Ethernet cables are fully seated and clicked. Verify that Data In and PoE Out cables are not swapped.
- Cable Quality & Distance Limit: Ensure cabling is 100% pure copper (Cat5e or Cat6). CCA (Copper Clad Aluminum) causes severe voltage drop over 30+ meters.
- Wattage Standard Match: Verify terminal device power consumption. IEEE 802.3af (15.4W) injectors cannot power high-power PTZ cameras or Wi-Fi 6 APs (requiring 802.3at/bt 30W-90W).
- LED Error Codes: Refer to chassis LED light patterns for over-current, short-circuit, or power negotiation warnings.
Conclusion
Connecting a PoE injector into your existing network is an efficient, cost-effective way to power high-performance endpoint devices without upgrading to expensive managed PoE switches. By adhering to proper port isolation and pure copper cabling rules, you guarantee uninterrupted network uptime.
Looking for Industrial PoE Injectors or Private-Label OEM Manufacturing?
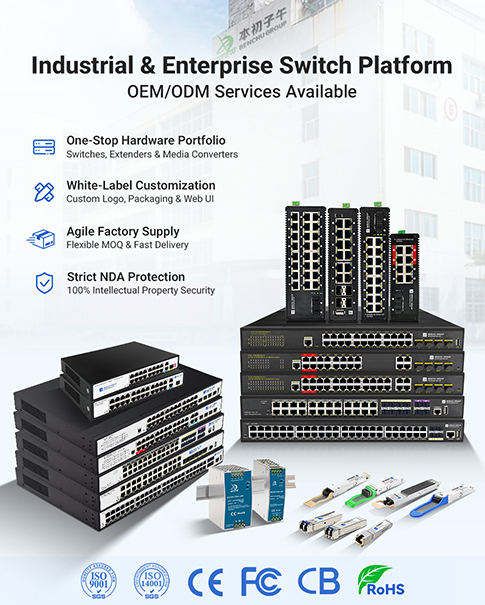
Partner directly with Benchu Group—Shenzhen’s premier OEM/ODM manufacturer of industrial PoE switches, 15.4W to 90W PoE injectors, and optical transceivers. Sourcing directly from our factory ensures competitive B2B pricing and custom engineering support.
Why Global System Integrators & Brands Source From Us:
- Full Power Capability (15.4W – 90W): IEEE 802.3af/at/bt Gigabit & 2.5G PoE injectors with full aluminum heat-sink casing.
- Complete White-Label OEM Customization: Logo silk-screening, custom housing colors, firmware branding, and custom packaging.
- Heavy-Duty Protection & Reliability: Built-in 6KV lightning surge protection, CE/FCC/RoHS certified, and 100% thermal burn-in tested.

 E-Mail Us
 Call Us
 Address


 IPv6 network supported
 English